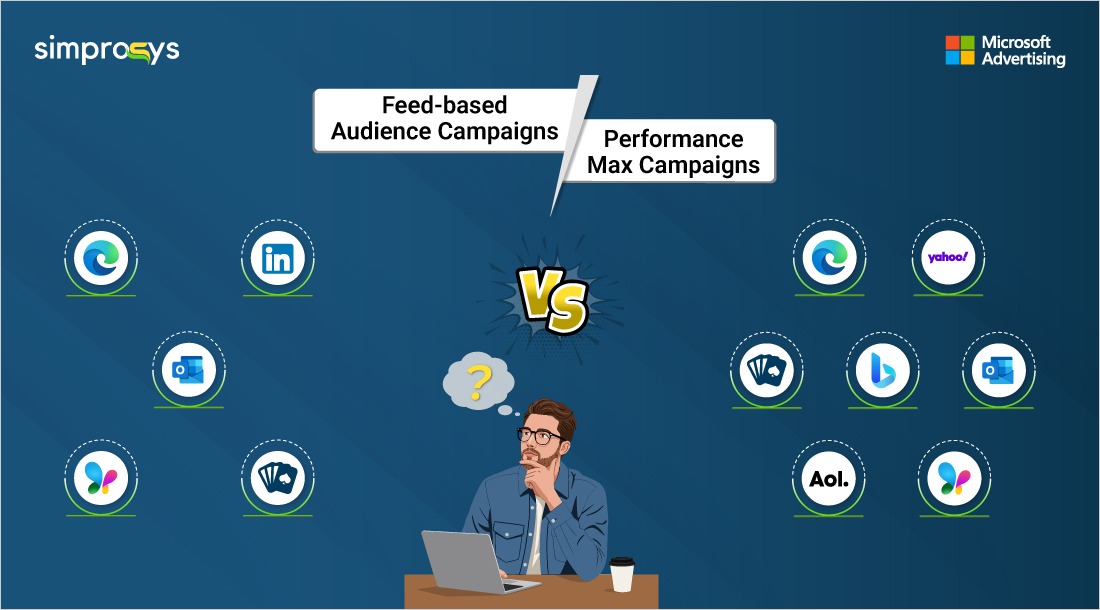
Steps to Create Microsoft Performance Max Campaigns
The much-awaited holiday season is almost here! The time when shoppers are busy buying online gifts and e-commerce merchants promoting their products. Microsoft has rightly introduced the Performance Max Campaign at the right time.
So, why not create and leverage the most out of them, this holiday season?
You need to first log into your Microsoft Advertising account. If you don’t have one, you must create an account and set up your business profile.
Further, if you are an e-commerce merchant and wish to run shopping ads, you will have to set up your Microsoft Merchant Center store with a product catalog.
Now, before knowing the process to create Microsoft Performance Max Campaigns, there are a few points to be aware of:
- If you are already running Smart Shopping Campaigns, you can upgrade them to Performance Max Campaigns.
- Further, you can also import Google Performance Max campaigns to your Microsoft Advertising account.
Let’s get started with the step-by-step process to create a Microsoft Performance Max Campaign.
Create Microsoft Performance Max Campaigns
1. Create a Campaign
Click on the “Create” button in the campaigns section to begin creating your campaign.
2. Define your Goals
Choose a goal that best suits the campaign you want to create. Whether it’s driving conversions, generating leads, or creating awareness. This will help in optimizing your campaign effectively. Generally, for e-commerce merchants, select “sell products” as your goal.
3. Select the Campaign Type
Out of the various campaign options, select the type of campaign you would like to create. Here, we are talking about the Performance Max campaign. So, we’ll proceed with it. Click on Continue.
4. Select Microsoft Merchant Center
In this step, you need to select the merchant center store for which you want to run the ads. The products from the uploaded catalog in your Microsoft Merchant Center Store will be used to run ads. So, select the store accordingly. Now, click on Start Campaign and proceed further.
5. Select your Products
You can either choose all products from the selected merchant center or filter the products to select the required ones. You can filter the products based on different criteria like product type, item ID, custom label, and other options.
6. Provide Ad Assets
Now comes one of the most important parts of the performance max campaigns which is the ad assets. Upload your ad assets, including images, headlines, and descriptions. Microsoft’s advertising AI will mix and match the most optimal asset combinations to create effective, high-performing ads.
Pro-Tip: Providing as many high-quality text and image assets as possible, along with various dimensions, helps Microsoft create more engaging ads for customers and display them across relevant Microsoft properties.
These are some minimum requirements:
Images | At least 2 images with dimensions of 1200 x 628 and 1200 x 1200 each. |
Short Headlines | At least three short headlines |
Long Headlines | At least one long headline |
Descriptions | At least two descriptions |
7. Target your Audience
Define the audience signals based on interests or demographics. Performance Max will use this information to refine the ad delivery.
You can either create a new audience signal or choose from the existing audience signals. Microsoft will then use them to reach the right audience for your ads and maximize your conversions.
We shall cover the details about audience signals in the upcoming blogs.
8. Campaign Details and Scheduling
Fill in the campaign details, such as name and days or times during which you wish to display the ads. If you do not enter an ad schedule, the ads will by default serve on all days and hours.
9. Set your Daily Budget & Bidding
Determine your daily budget and select a bidding strategy that aligns with your campaign objectives. You need to set up a daily budget because Performance Max campaigns do not support shared budgets.
With automated bidding, Microsoft Advertising automatically adjusts the bids to meet your performance goals.
There are two options to select from:
Maximize conversions with Target CPA: With this bid strategy, you can set your Target cost-per-acquisition. |
Maximize conversion value with Target ROAS: With this bid strategy, you can set your Target ROAS. |
It’s highly recommended that you select Maximize Conversions Value as the bidding strategy for e-commerce stores. Maximizing conversions with Target CPA is mostly chosen for lead generation campaigns.
We will cover more details about budget and bidding strategies in the later blogs.
10. Review and Go Live
After you enter all the details, please review them and you are all set to run your first-ever Microsoft Performance Max Campaigns.
Once your campaign is live, regularly review performance reports and make adjustments as needed to ensure optimal results.
Factors Affecting Performance Max Campaigns
Now that the steps to create the Microsoft Performance Max Campaigns are clear, let’s take a look at some of the factors affecting it.
When it comes to maximizing the campaign performance, several factors come into play. These include:
- Feed Quality
- Budget & Bid Strategy
- Conversion Data Accuracy
- Audience Signals
- Asset Quality
The campaign’s automatic algorithms handle most of these factors, such as conversions and audience signals, leaving us with little control.
But, What’s left for us is the feed optimization and the quality of assets that we upload.
One way to streamline this process is by using tools designed to help manage both your feed and campaigns effectively. This is where solutions like the Simprosys Google Shopping Feed app come in handy, providing an effortless way to handle both aspects from one platform.
Optimize your feed and ensure your assets are top-notch to set your campaigns up for success.
This is not the end, but the beginning!
Each step will be explained in detail in the coming blogs.
Leave a Reply